I'm a member of the Alaska Metal Arts Guild (AMAG) & we're having a post holiday get together. This is a great group who's always up for sharing metal work techniques & a party!
The parameters of the gathering were to bring a brown bag with the goods you're trading for the exchange auction. So I have lots of things to share but no "brown bag" to use as the
nondescript container.
What to do?? Make one of course out of Bullseye glass paper.

When crated glass arrives from the Bullseye factory, every sheet of glass is sandwiched between a double layer of waffle paper. Sometimes in blue, pink, yellow but also in the requested brown. I re-use every piece of this paper for packing up my work. My son loves to draw & use ink stamps on it & in a pinch it makes for great wrapping paper tied up with string...sort of rustic retro, no?
OK, first step is to cut a rectangle in the desired size & then fold so you have a small 2-3 inch flap (see crease on the right above) & a center fold. It's good to just fold so you have these guides & then open up flat. I used grey duct tape all the way around the rectangle for reinforcement. This looks industrial but duct tape comes in a gazillion colors so red would have looked good if I'd had it.

Second step. Fold it up & re-adjust for size if needed before you secure the sides.
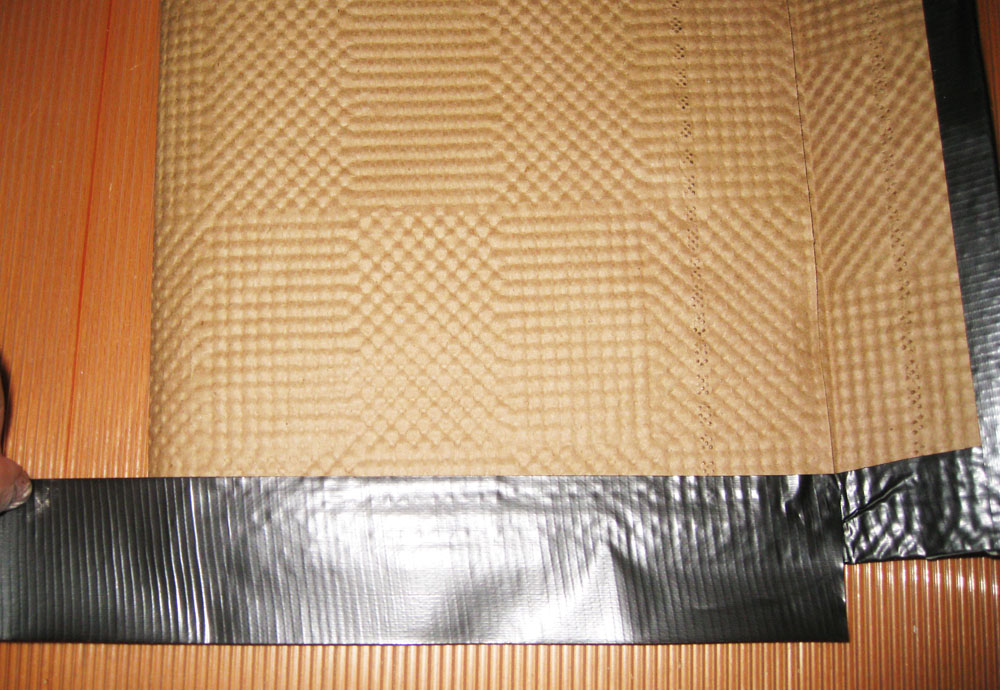
Third step. Add more lovely duct tape to the sides.
Note that you start on the inside under the flap. Cut at the bottom edge & fold the tape over to the back side. If needed, you can add more tape on the corners....an alternating color would also look good as accents on the corners.

Step 4. Add a closure. I'm adding a button style closure using grommets to hold it in place.
Simply punch a hole with a paper punch, place the cardboard button over the hole & then secure in place with grommets. You can purchase the metal grommets & setting tool very inexpensively at Michael's Crafts.

Here's the grommet tool in action.

The two buttons in place & now tie it up with string. A colorful elastic also looks good.

I also did a little stamping on the outside for a little inspiration. Wha-la! A gift bag!
No comments:
Post a Comment