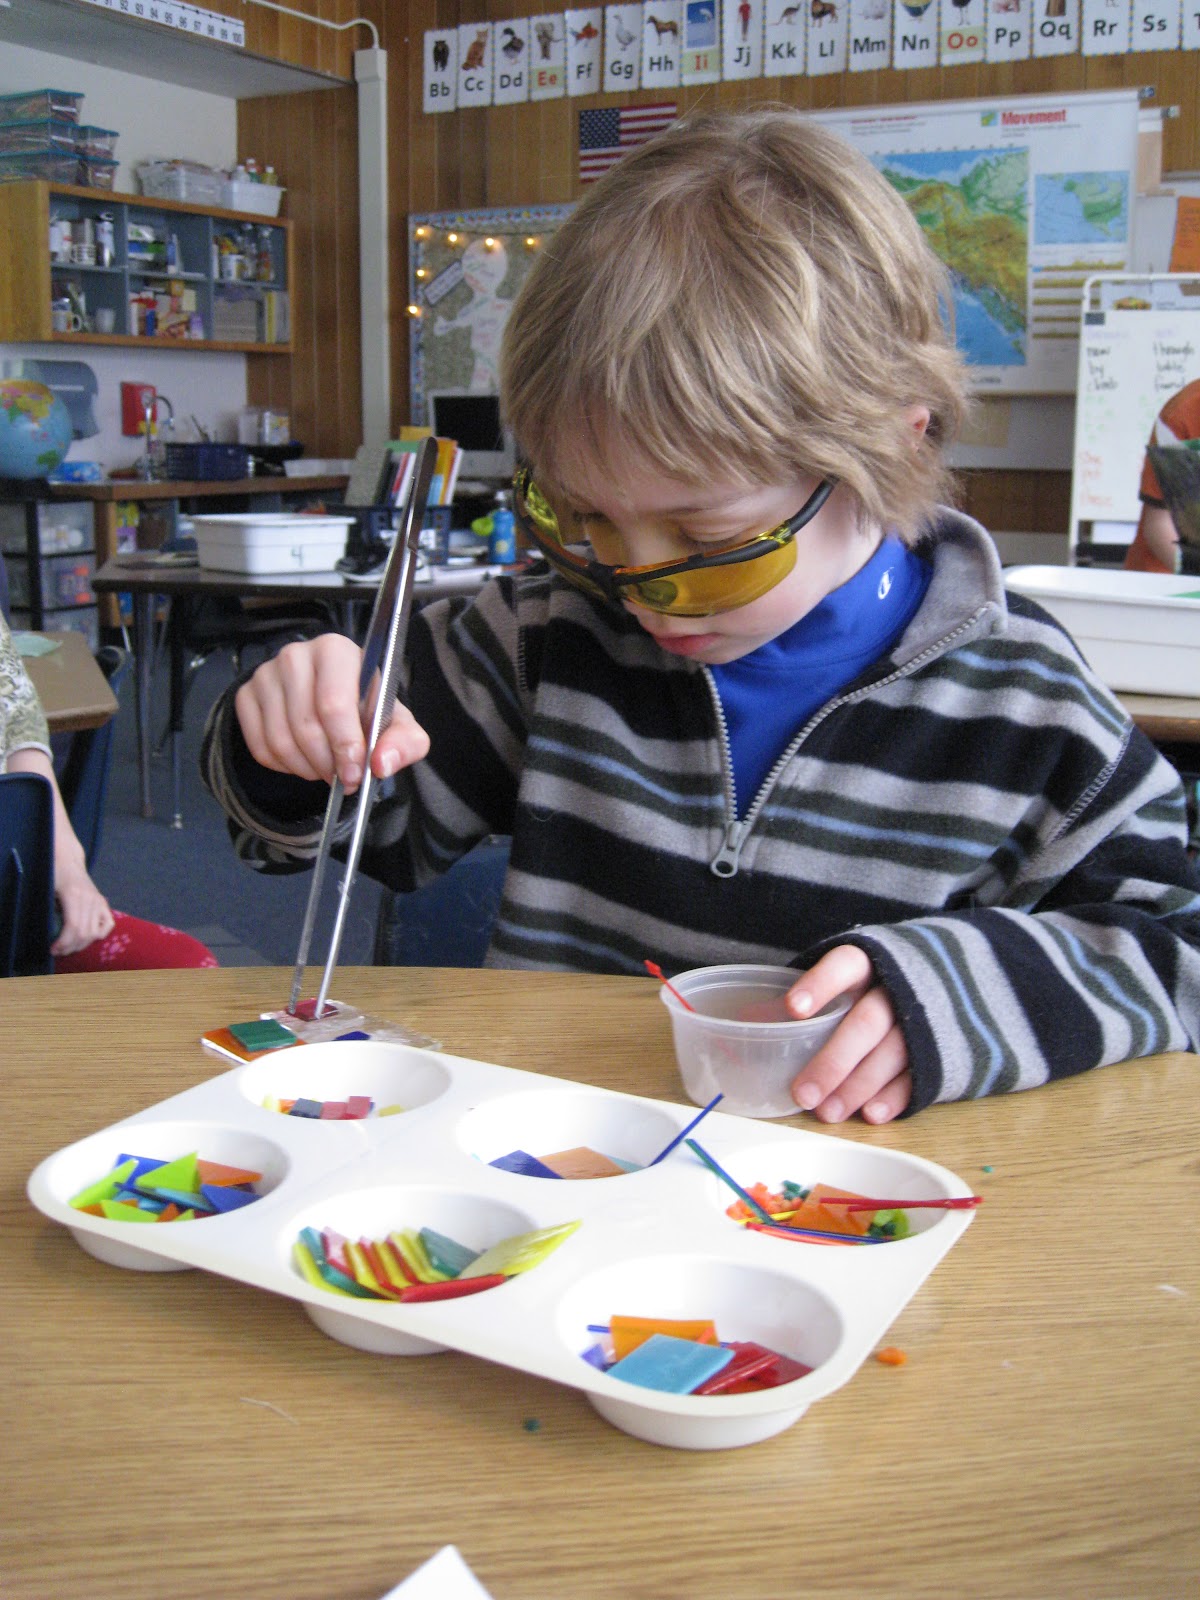
My son, William, is in 1st grade.
He loves to help in the studio & create his own glass pieces.
He's pretty handy around the studio & often helps me with my production work.
He loves his classmates & teacher so we thought we might like to share a
glass project with the class. We decided to ask his teacher if she'd consider
having the kids help create a fused glass platter as a
gift donation to the Anchorage Museum for the 2012 Gala ~ & she said "Yes!"
I pre-cut opal glass, primary colors, in basic shapes.
Each child received a 3 X 3 inch clear blank &
then had free rein to layer, sort, line-up, & create a pattern of their own design.
We discussed safety ~ thus the goggles ~ even though they weren't really needed
it's good to get used to wearing them ~ practice safety!
And the use of tools; safety, how to handle, clean & put away.
In the studio, this is a must!
Tools must be put back after use or there
becomes so much disarray that they can't be found & time is lost!
It makes me a little crazy...organized chaos is fine as long as I can find my tools.
And tweezers! Kids (of all ages) LOVE tools!
I brought big & little tweezers, for picking glass up, & it was a big hit.
Again, not really necessary but the kids love to handle tools like this &
it's fun for me to see how they do ~ it varies quite a bit student to student.
As the kids completed their 3X3" squares I placed them in divided boxes
and labeled each square with their name. Each child also completed a small magnet
& these were also placed in the same labeled space.
Here's a quick shot of the pieces as they were put together by the kids.
After all the 3X3's & magnets were completed I transported them
back to the studio firing in the kiln.
I created a grid that was drawn on fiber paper so I could lay out the
3X3's & also make a map to keep track of each child's piece.
The grid is filling up....
Almost filled in with a balance of lots of color & some pieces with more "space."
White space is good ~ a little resting spot for the eye.
This helps to create balance in the overall design too.
Here's the glass blank pre-firing.
I decided to fire this at about 1419...below a full fuse
to get a little texture but still allow it to be used as a platter.
There was quite a bit of glass left over so I decided to make a
small platter for William's teacher as a thank you.
She's been a great teacher & open doing new things with the kids.
The kids love her! Thanks Ms. G~!
Each child also made a magnet ~
I think it's important that they have something to take home to show
their family & have a memory of the process.
A little pocket piece.
Here's the piece post firing.
William got busy making a chart & placing the magnets on a display board.
A fun way for all the kids to look at every one's work.
And another helper peeking around Will....
Thanks Will! Good job.
Here's the finished platter!
Size: 15" X 15"
Title: Primary Colors
Thank You First Graders ~ you're amazing!
Now for the "Artist Reception" at school!