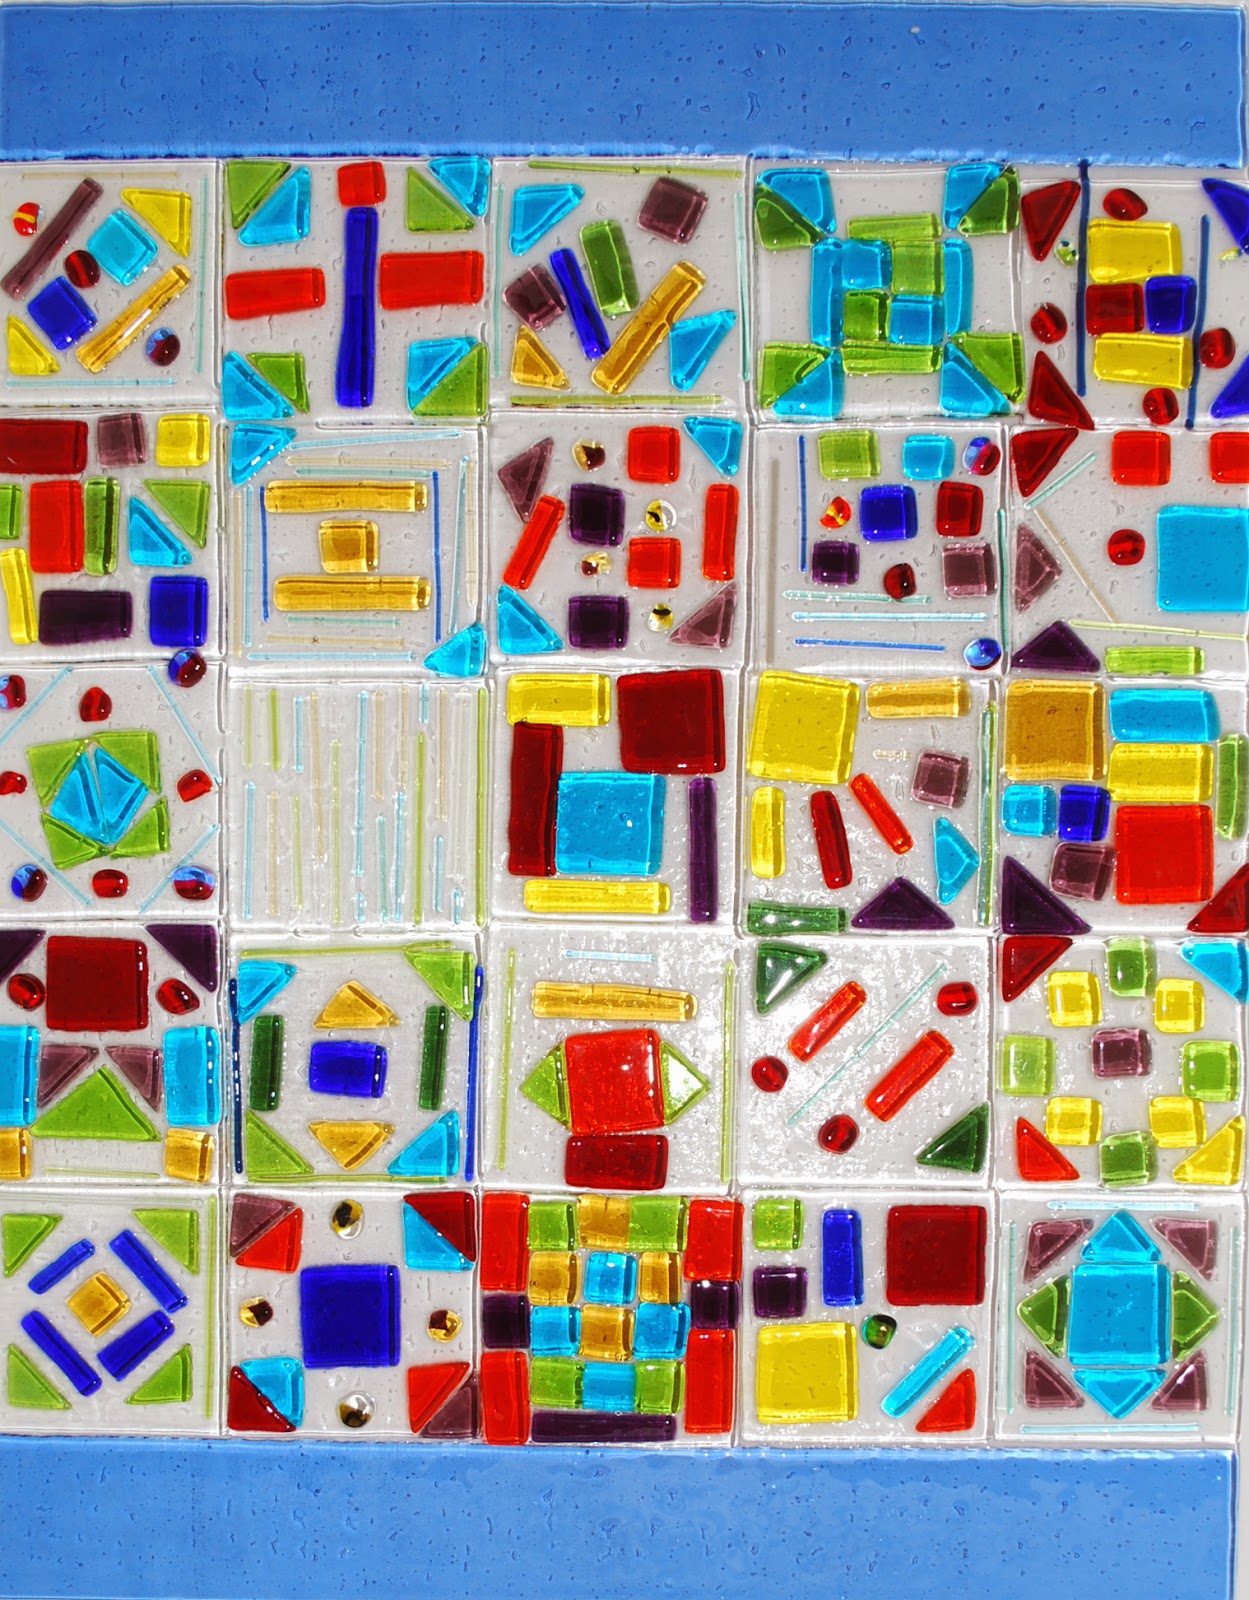
I've decided that I need to make a sample panel & fit it in the window space
at Chugach Optional Elementary.
I've measured all 12 of the window spaces & they all vary slightly.
This needs to be taken into account as well as the firing schedule.
Depending upon the number of layers of glass & the fusing temperature
the panels could expand & not fit the space.
Here's a full size mock up.
I'm going to fire this at 1400 degree Fahrenheit
which is a tack fuse with some rounding of edges.
I use Denver Glass Machinery Kilns & supposedly they run hot
so glass schedules always need to be adjusted.
I've made some accessory glass components:
milleforie in the rod pod (above).
Chopped them up!
Here's a close up.
The student artists will also be combining glass strips & stringer
for the rod pod. I have a small kiln I'll be bringing to school so we can fire a few
components during the week & the older artists can chop them up.
I need to remember to bring goggles.
I'm planning on creating a bulletin board in the hallway outside the art room
so I'm making some samples to display such as stages of fusing at various temperatures.
Maybe I should make samples of glass stress / slumping at various temperatures?
I could probably spend a week with each class there's so much to cover so I guess I need to prioritize? My expert art teacher/co-AIR, Eleanor is good at reining me in & helping me with simplifying the lesson for K-6. She does it every week!
I have great handouts & a poster on reactive glasses from
Throughout the week I'll take photos of the student artists working
and post those on the bulletin board so parents & visitors can see the process.
I've been researching & refreshing my memory on the minerals & elements
used in colored glass. It's a very interesting read.
I want the students to gain an appreciation of the science, chemistry, & physics involved
in the art glass process.
Here's the piece post firing (1400 degrees F /18 min).
The edges are maybe a little too round.
I like the individual glass pieces "crispy."
We're using 4 striker colors. If you look at the pre & post fired piece you should be able to find them. Each table will have containers with sorted colors & one container with the striker glass ~ a post fired piece is attached to remind the students what it will look like after firing.
I think that's the hardest part; visualizing in your mind what the color will like in relation to all the other colors that are stable.
There's sure to be some surprises!
I will need to consult with my cohort, Eleanor, on the texture.
Eleanor will be helping with the layout & design of the individual panels
as student artists complete their pieces.
We had at one time talked about creating the panels in a rainbow of color
but this became too cumbersome due to the number of students & time line.
So...I was thinking of color borders?
12 panels = 12 different color borders?
Here's a test strip of possibilities.


.JPG)

.JPG)


